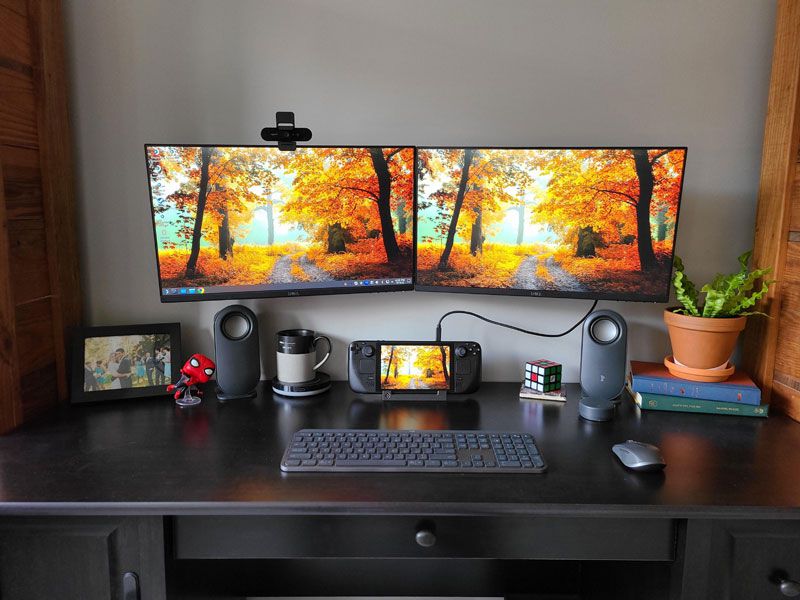
Are you excited about the upcoming release of Valve’s new handheld gaming device, the Steam Deck? This portable console allows gamers to play their favorite PC games on-the-go, but did you know that it can also be connected to your PC for an even more immersive gaming experience? If you’re wondering how to connect your Steam Deck to your computer, don’t worry – this step-by-step guide has got you covered!
What is a Steam Deck?
The Steam Deck is Valve’s new handheld gaming device that’s set to release later this year. It’s designed for gamers who want to take their PC games on-the-go without sacrificing performance or graphics quality.
How to Connect a Steam Deck to PC
Did you know how to connect Steam Deck to PC? Connecting your Steam Deck to a PC is a simple process, and it enables you to access more games than ever before. Here’s how to do it:
First, connect your Steam Deck to the PC using a USB cable.
Next, make sure that both devices are turned on and logged into the same Wi-Fi network. This will enable them to communicate with each other.
Once they’re connected, launch the Steam client on your PC and select “Settings” from the drop-down menu in the top left corner of the screen.
From there, click on “Remote Play” and then choose “Pair Steam Link.” The software will then automatically detect your Steam Deck as long as it’s connected via USB.
Follow any prompts or instructions that appear on-screen until everything is set up correctly.
And that’s it! You’re now ready to start playing all of your favorite games on your Steam Deck remotely through your PC. Just keep in mind that some games may require additional configuration or settings adjustments for optimal performance.
Why Connect a Steam Deck to PC?
Connecting your Steam Deck to a PC can be incredibly beneficial for avid gamers who want to gain access to an array of games that are not available on the portable device. By connecting your Steam Deck to a PC, you can expand its gaming library and enjoy more titles than ever before.
Additionally, connecting your Steam Deck to a PC allows you to take advantage of the high-performance capabilities of your computer. This means that even graphically intensive games will run smoothly on the handheld device.
Hard Drive Enclosure vs NAS: Which type of storage is best for you?
When deciding between Hard Drive Enclosure vs NAS, it’s important to consider your specific storage needs. Hard drive enclosures are great for those who need basic external storage for personal use or small businesses. They’re easy to set up and use, and can be an affordable option.
On the other hand, if you have a larger business or need more advanced features like remote access or data backup, and then a NAS may be the better choice. With a NAS, you can connect multiple devices and users to one central hub for seamless file sharing.
Another factor to consider is budget. While both options can be cost-effective depending on your needs, hard drive enclosures may be more affordable upfront while NAS devices often require more investment but offer greater long-term benefits.
Conclusion
Connecting your Steam Deck to your PC is a simple process that can be done in just a few steps. Once connected, you’ll have access to all of the games in your PC’s library and will be able to play them on-the-go with your Steam Deck.

Reblog It collaborates closely with clients to develop tailored guest posting strategies that align with their unique goals and target audiences. Their commitment to delivering high-quality, niche-specific content ensures that each guest post not only meets but exceeds the expectations of both clients and the hosting platforms. Connect with us on social media for the latest updates on guest posting trends, outreach strategies, and digital marketing tips. For any types of guest posting services, contact us on reblogit.webmail[at]gmail.com.